Change is hard, but it can be exciting as well. Now that you are ready to move your payroll from Sage desktop to PaymentEvolution Cloud Payroll, we want to make it simple for you to move over and get started. Below is a step-by-step guide to make your transition simple.
Step 1. Issue ROEs for all employees in your old system (this will make any future ROEs easy to run). When issuing ROEs please use Code K12 “Other/Changing Payroll Provider” as the reason for issuing the ROE. Service Canada will store this as an interim ROE and will combine it with a later one if you need to issue one after starting with PaymentEvolution.
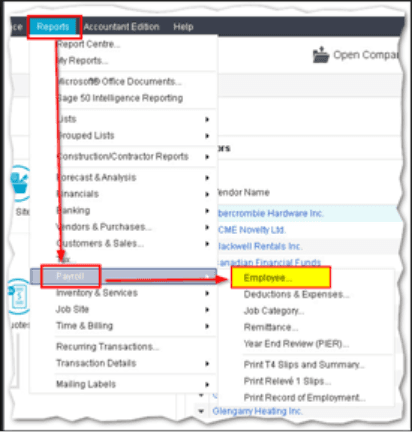
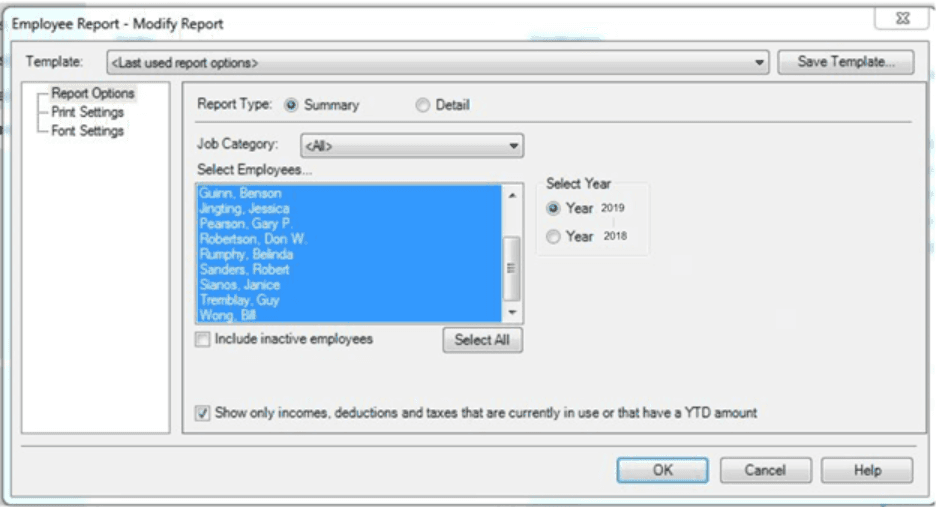
Step 2. Gather your employee Year-To-Date (YTD) information. This would be under REPORTS>PAYROLL>EMPLOYEES in your Sage desktop account. You can also download the last payslip for each employee which has the same information.
Step 3. A few more details you’ll need:
CRA Payroll number for your organization
Employee bank information (3-digit Institution Number, 5-digit Transit Number (Branch) and full Account Number)
Employee emails for PayChequer access
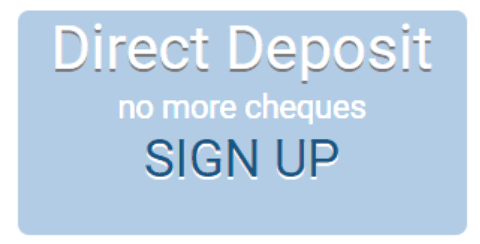
Step 4. Login to your PaymentEvolution account and get started by entering your company information under COMPANY SETTINGS and Sign up for Direct Deposit (3-5 days for approval)

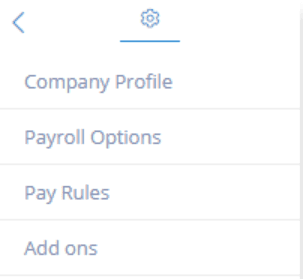
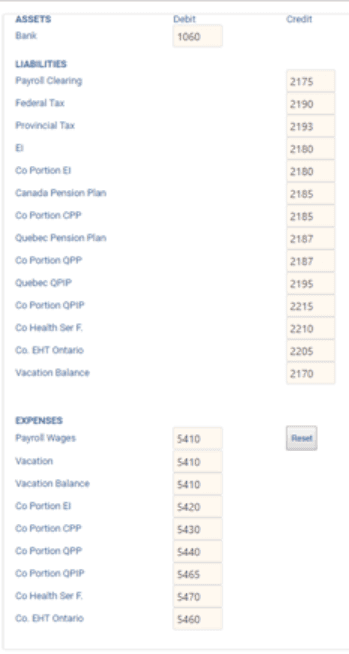
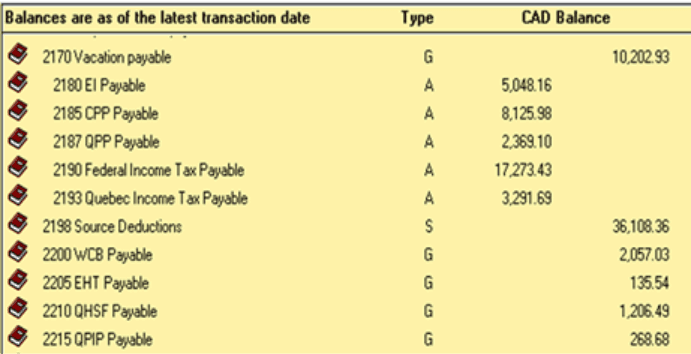
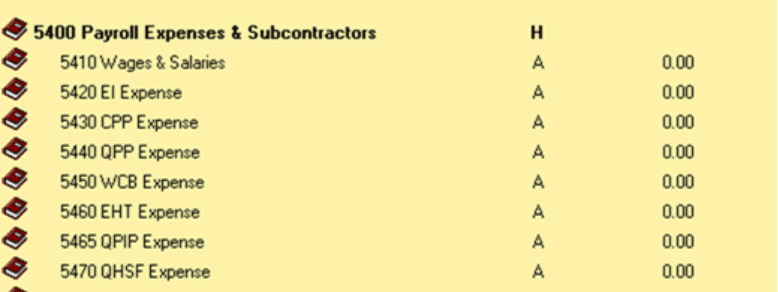
Step 5. Under Payroll Options>GL add your SAGE account numbers to PaymentEvolution for Easy reporting
Step 6. If you need to add any special benefits or deductions for your employees, please set them up under Pay Rules using the guide HERE and include the GL codes from your Sage account
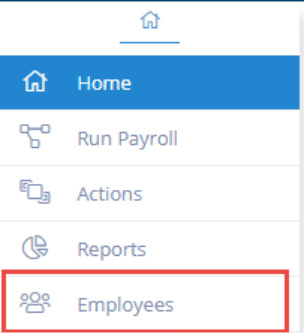
Step 7.Enter your Employee Information under the EMPLOYEES Section
If you need to learn how to Add an employee
Add their personal information and bank details for direct deposit
Payroll details including rates and vacation
Benefits or deductions
Financial YTD
Step 8. Run your first Payroll
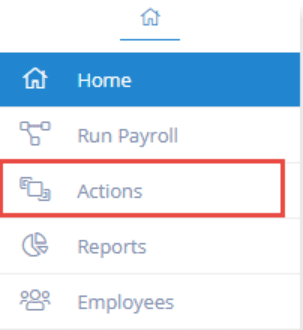
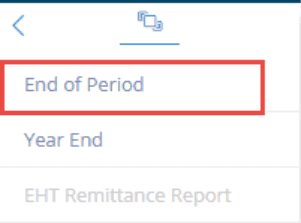
Step 9. Once you have completed the payroll, you will see a Pie Chart on Screen. Click on the ACTIONS button and select End of Period. This will generate the General Ledger report for you to post to your SAGE Desktop software

Troubleshooting & FAQs
My GL reports aren’t being sent over to my accounting platform.
If you are having issues connecting to your accounting system, your connection might need to be re-established.
Start by logging in to your accounting platform. Then, try searching for PaymentEvolution in your Connected Apps. Enable the connection, and then logout of your accounting platform. Note – if this is not available, skip this step.
Login to PaymentEvolution, go to Settings > Add Ons and delete (trash can icon) the connection with your accounting platform.
Re-enable the add-on and follow the steps above to ensure your chart of accounts are mapped properly. Ensure ALL accounts are mapped, including those that you won’t use.
Check for special characters while mapping (dashes, accents, etc.) as this can disrupt the connection or prevent the report from being imported. If you need to remove the characters, do so from within your Chart of Accounts in your accounting platform.
Keywords: Sage Accounting, Moving Providers, Moving Payroll Provider, Payroll Provider
396
Can't find what you are looking for? We can take a more direct look to help resolve your matter — Create Case or Contact Us